Guide To Cork Flooring Installation

The ultimate guide to cork flooring installation: Tips, tricks, and tools

During the 1970s, cork flooring was a prominent feature for households. In recent times, cork flooring has made a bit of a comeback and is quickly gaining popularity once again for its affordability, easy installation, and versatile attributes.

One of the primary benefits of cork flooring installation is that it’s an easy and cost-effective process. While cork flooring comes in a variety of forms, the most common in residential applications are glue-down tiles and floating floors. Whichever approach you take, we’ve created this detailed guide to ensure a smooth cork flooring installation process.
Complete Guide To Cork Flooring Installation

What Materials And Tools Do I Need For Cork Flooring Installation?

Along with your tiles ordered from your chosen cork flooring company in Calgary, below is a list of the necessary tools that you’ll need for your project:

  • Graph paper
  • Chalk
  • Utility knife
  • Tape measure
  • Rubber mallet
  • Tapping block
  • A saw or tile cutter
  • Floor roller
  • Sandpaper
  • Vacuum
  • Drywall sander
  • Floor finish

If you are using glue-down cork tiles, there are two types of adhesives to use: contact cement and mastic. We recommend purchasing extra adhesive to avoid an extra trip to the store during the cork flooring installation stage.

Planning For Cork Flooring Installation

The quality of your cork flooring installation depends highly on your pre-planning. The more detailed the plan, the better the outcome will be. Measure your floor and, using graph paper, plan the layout and design of your flooring accordingly.

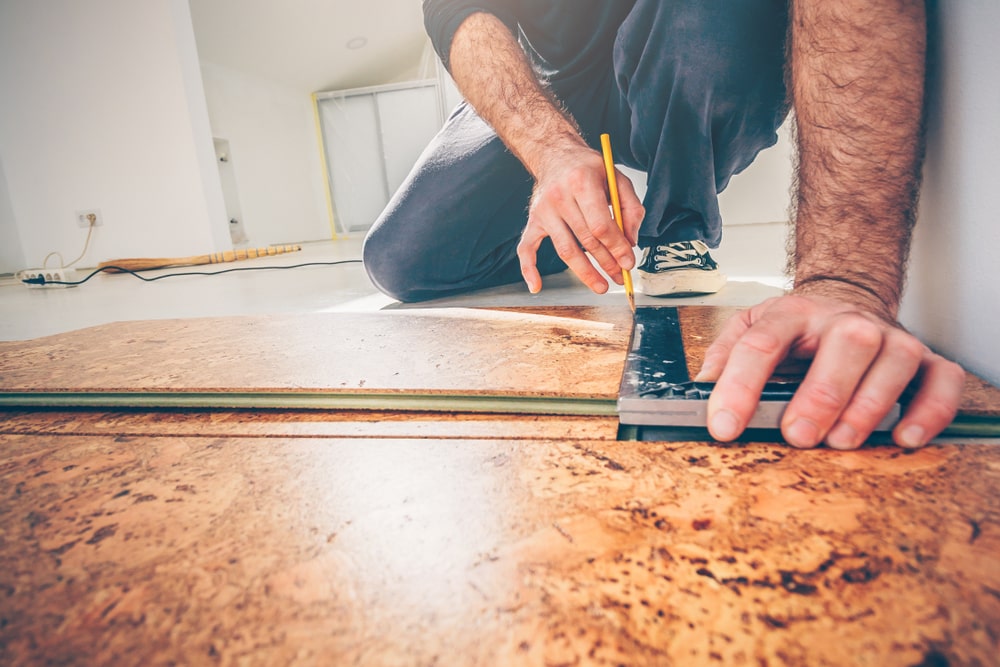
Once you’ve determined the centre of the room, draw your layout lines using chalk to match the dimensions of your cork tiles. Depending on the surface area of the room, you may need to cut tiles to fit.

Preparing Your Subfloor For Cork Flooring Installation

Cork must be installed on a flat, smooth surface. They are not to be installed over plank flooring, vinyl, or linoleum. If you are installing them over existing flooring, you’ll need to first fix a plywood underlayment of at least 1/4 inch thick over top.

Any surface that is not completely smooth must be sanded and de-waxed before installing cork flooring as the cork tile will contour to uneven areas in the subfloor. Residue from pre-existing floor can be fully removed by scraping, using a heat gun, or a special solvent. The subfloor needs to be completely dry before applying cork flooring.

Important Disclaimer: If your home was built before 1980, there may be asbestos in the tiles or adhesive, which can be hazardous if it becomes airborne. Before removing any old flooring, call your local health department for safe removal and disposal.

Installing Cork Flooring

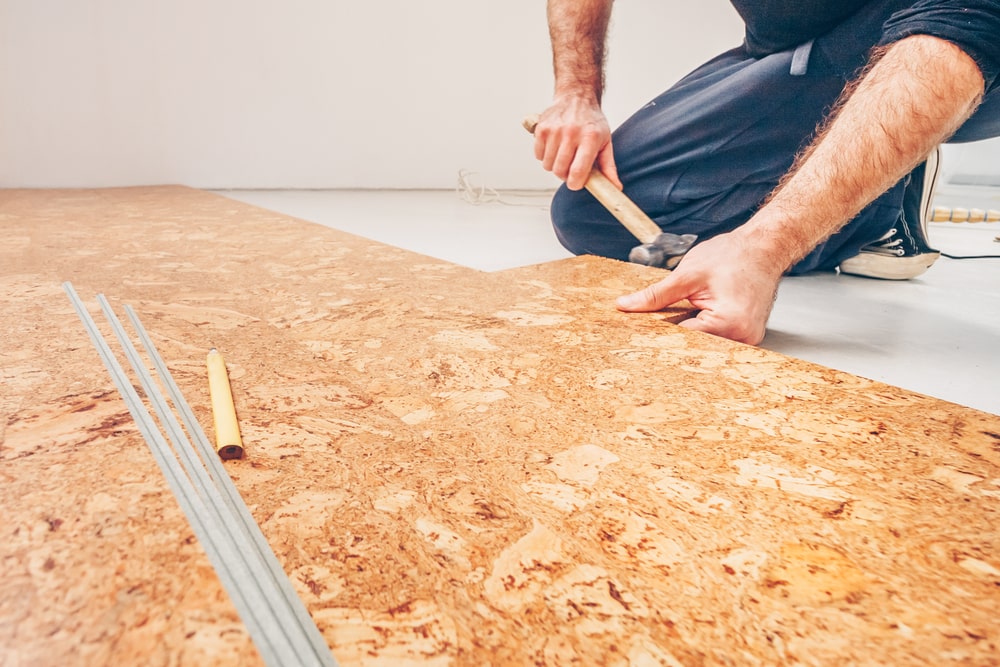
Begin installation by placing the cork tiles lengthwise along a wall. With floating cork flooring that locks together, place the tapping block over the tile to protect the surface. Using a rubber mallet, tap the block to lock the tile into place.

With glue down tiles, follow the same procedure and use the proper adhesive to secure the tiles. Cork expands and contracts as the weather fluctuates, so it’s important to allow for about 1cm of extra space around the walls.

Sand And Finish Cork Flooring

Once the installation of your cork tiles is complete, pass a floor roller over the surface to secure the tiles. Using 100-grit sandpaper followed by 150-grit sandpaper with a drywall sander, sand any high spots or ridges and carefully vacuum the residue.

To finish your cork flooring, apply two to three coats of a waterborne or oil-based polyurethanes flooring finish. What you’re left with is a new, beautiful cork floor.

Final Thoughts

To maintain your cork floor, regularly sweep or vacuum dust and debris. Use warm water, gentle dish soap or neutral chemical cleanser, and a microfibre or sponge mop to wipe the floor weekly. Lastly, enjoy your environmentally-friendly and sustainable cork flooring!

Recent Blogs

Picking Pet-Friendly Carpet

Paws and Relax: 6 Essential Tips for Picking Pet-Friendly Carpet

Having a pet is awesome! Did you also know that studies show they also bring life benefits such as improved health, reduced loneliness, and enhanced happiness, thanks to their ability to lower stress levels and boost mood?

As a pet owner, you know the joy and companionship they bring. But along with that, there’s the challenge of maintaining your home’s flooring against scratches, stains, and other damages. That’s why choosing the right carpet flooring is an important decision.

Read more
Flooring store in Calgary

Adding Price Conscience Value To Your Home With Updated Flooring

Updating your home’s flooring can be a game-changing project in terms of aesthetics and adding value to your property. The perfect balance between quality and cost often requires smart, price-conscious choices.

Whether renovating to enhance your living space or increase your home’s market value, choosing the right flooring option is crucial. Deerfoot Carpet & Flooring is here to help you make those choices without breaking the bank, focusing on options available in Calgary and emphasizing the importance of considering long-term value over just the upfront costs.

Read more
Upgrading Their Townhome or Condo

An Empty-Nesters Guide to Upgrading Their Townhome or Condo

Becoming an empty-nester can be a mixed bag of emotions – it can be challenging for some, while it can be a new beginning for others. Regardless of what you may feel, it for sure signifies a new chapter in your life. It’s the perfect opportunity to upgrade your living space, including your floors. At Deerfoot Carpet & Flooring, your local home flooring store in Calgary, is here to guide you through your new era in life.

Read more

Experience the
Deerfoot Advantage

  • Largest inventory in-stock, that means no waiting for your product to get shipped in!
  • Our massive buying power allows us to pass on our savings to you.
  • The best customer support, ongoing and after your project is completed.
  • Over 30 certified and insured installation crews.
  • Crews participate in on-going training to be the best in the city!
  • We’ve been family owned & operated since 1994!

Check out our
Current Specials

Glue Down Vinyl Plank (5mm, 9″)

3 Stock Colors  9" 5mm glue down plank
Read More
Glue Down Vinyl Plank (5mm, 9″)

Glue Down Vinyl Tile (5mm)

2 Stock Colors  12"x24" 5mm glue down vinyl tile
Read More
Glue Down Vinyl Tile (5mm)

Glue Down Vinyl Plank (5mm, 7″)

Your Choice vinyl plank - 10 Stock colors 7" Wide plank 5mm thickness
Read More
Glue Down Vinyl Plank (5mm, 7″)

Curate 7mm Click Vinyl Plank

  Taiga - Curate SPC - 4 Colors Flooring Specifications: Size 9" x 60" / 12" x 24" Thickness 7mm...
Read More
Curate 7mm Click Vinyl Plank

Harmony 6.5mm Click Vinyl Plank

  Style Harmony Stocked  Colors 2 (Cozy White, Essence) Thickness 5mm core, 1.5mm IXPE Pad Width, Length 7" x 48"...
Read More
Harmony 6.5mm Click Vinyl Plank

Evolved – 8mm Click Vinyl

Style Evolved Stocked  Colors 2 (Barton, Chambertin) Thickness 8mm (6.5mm core, 1.5mm IXPE Pad) Width, Length 9 5/16" x 71"...
Read More
Evolved – 8mm Click Vinyl

Mohawk – Crestview

Brand Mohawk Style Crestview Stocked  Colors 2 (Yorktown, Warm Biege) Fiber Category Everstrand Fiber Contents 100% Polyester Face Weight 30oz...
Read More
Mohawk – Crestview

Dreamweaver – Daydream

Brand Dreamweaver Style Daydream Stocked  Colors 2 (Millstone, Sage) Fiber Category Pure color Fiber Contents 100% PureColor® Soft Solution Dyed...
Read More
Dreamweaver – Daydream

Dreamweaver – Hard Twist 50

Brand Dreamweaver Style Hard Twist 50 Stocked  Colors 2 (Alloy, Glitter) Fiber Category Pure color High-Def Fiber Contents 100% PureColor®...
Read More
Dreamweaver – Hard Twist 50

Mohawk – Flawless Reputation

Brand Mohawk Style Flawless Reputation Stocked  Colors 2 (Thunder Dome, Tradition) Fiber Category Smarstrand Fiber Contents 50% Triextra 50% PET...
Read More
Mohawk – Flawless Reputation